A Clean, Multipurpose Agency Theme


Flashguns the basics

Flashguns can be a scary bit of kit to get to grips with, but with a little bit of knowledge and practice they can be one of the most important tools you have. First you need to understand the flashguns anatomy, what the buttons and flashing lights actually do.
As flash guns varry in design layout i will be talking about my SB700 a lot of the features are interchangeable with other makes and modes the method is likely to be different.
Modes
The SB-700 has a handy mode slider on the side of the screen the remote and master are deslected ont he no off button.


ITTL - Intelligent through the lens, in this mode the camera meters the image through the lens to determine the power of the flash. The benefit its you do not have to think about your setting its automatic. The down side is it will quite often over power the flash, resulting in you batteriesdying faster and the recharge rate being longer. This mode is useful in situation you need to think fast or you have varying light. there is also a flash exposure compensation allowing you to quickly adjust the power output with a range for +1 to -3 stops this helps ensure the flash is not too harsh.

Manual - This setting allows you to input the power output. the power is rated in fractions with each stop halving the intensity of light (The SB700 alters the stops in increments of 1/3 allowing you to really fine tune the power). This is the mode i use most it allows me to know what the flash is doing exactly and control it.


GN mode - you set the subjects distance with in the flashgun to determine the power. This is a feature I have not used.
Master and Remote- The master mode allows you to trigger 3 separate flashes independently controlling there power output, the receiving flash guns are set to remote mode and can be run in manual or TTL.
This is a fairly complex triggering method having 3 channels to allow 3 different sets of masters and remote to work in the same area with out triggering each other. The master flash can be triggered before the shutter removing it form the image.
I have not used the master mode on the flash but my D610 allows the pop up flash to be the master flash. the benitfit of this was not having to carry any extra triggers and batteries, the draw back is the flash has to have a line of sight with the remote meaning its likely to be in your image.

.jpg)

Zoom.
Flash head zoom refers to the spread of light. this can have a large effect on your images appearance even thought it dose not change the flashes out put. 24mm is the widest on the SB700 this will give you a large spread of light giving a soft glow. where as at 120mm the light is focused in to a smaller area giving a harsh light. I like to this of this as a running tap at 120mm and the same tap with a shower head attached at 24mm, its the same rate of water but just spread out, if you put your hand under the shower you'll get damp but if you put it under the tap you'll get wet.
The best way to understand these features is to play about with them see what works and how.

Assignment - The Recce
Today we where given the task to follow a brief similar to that a art director might set; to collect sample images that correspond to their ideas allowing a project to move forward with know locations.


Note that this is a wooden bench, and that it is a close up.The arm of the bench is at a precise angle and position within the image area to accommodate the text, so the recce shots should show that this is possible.
my first bench image was taken in solihull college, it fits the design of the drawing with a slightly more elaborate arm. the top of the belt has an inscription on the top of the seat, I used a narrow depth of field here to make this less distracting it could be removed by using a similar angle to the drawing although the arm of the chair is quite a bit thicker to that of the drawing so dose not recreate the image as well


This is obviously a long lens shot. The stack is long and has four pots on it. This is the ideal shot, but get as close as you can.If there is any roof clutter such as aerials, make sure that they are easy to retouch out.


The Bench
Note that this is a wooden bench, and that it is a close up.The arm of the bench is at a precise angle and position within the image area to accommodate the text, so the recce shots should show that this is possible.
I found an alternative bench with in the grounds of Solihull church. This has a newer/cleaner appearance but its location in the grave yard could cause issues for having a full shoot there
The chimney
This is obviously a long lens shot. The stack is long and has four pots on it. This is the ideal shot, but get as close as you can.If there is any roof clutter such as aerials, make sure that they are easy to retouch out.
We found this chimney in solihull town centre, I purposely under exposed this 2/3 a stop in order to get some detail with in the clouds but there wasn't much detail to capture with out seriously reducing the exposure which wold effect the chimneys look. I also cropped the image to remove the flashing as i felt it was distracting
The Lonely tree
This tree has
leaves on it, and should be easy to isolate against the sky without retouching.
This was the hardest image to collect, in the city trees are generally planted together and when you to find lone trees they framing then agents the sky is often hard due to the area being built up
To help isolate the tree i used a narrow depth of field and framed it using the path to separate it from the other foliage in the image.
The Door
The door does
not have to match the visual exactly, but it must be old and have a sense of dread about it – scary looking. The image will be
used as a cut out.A sense of deed made this one of the harder images to get, having to generalise a feeling that can be very individual is the key to this. i chose this door for its simplicity and dramatic lighting, the classic plane design gives it a universal feel it could be anyones door. the dark weathered wood and natural shadow adds a dramatic effect.
editing the Image i started by applying some lens correction to make sure the door was straight and square. Then in photoshop i removed the surroundings using a layer mask.
Evaluation
Working the recce is different form my usual style of photography you are constrained by the brief given. capturing the exact image they want isn't always what you would take had you been undertaking the brief for your personal work.
I think my images some what represent the briefs but there is leeway to be more accurate. the chimney is the closest to the brief. while the bench could have a better perspective. The door and the tree where harder to capture with in the city, the tree would be easier to obtain had I made a trip to the country where as the door is more about finding a door that generalises the feeling of dread to appeal to everyone
over all i enjoyed this assignment but need to be more aware to the brief to be more precise.

Wedding album

I shot a wedding back in may and the wedding album has arrived, I wanted to create a book that would narrate the couples big day giving the couple something they can go back to over the years and share there day with the friends who could not be there. Designing the album was a challenge, filtering the 1000 images of the day in to around 50 images that tell the story and fit together with each other is tricky especially when working which to don't make the cut.


Second hand bike

A friend of mine is wanting to sell his bike so I took the opportunity to do a product shoot for his internet adverts.
As this bike was designed to be hurting down a mountain as fast as possible i decided to take the shoot in to the garden (and not on the hill as no one wants to buy a well used bike.) the first location wasn't working as there wasn't enough distance between the bike and the background.


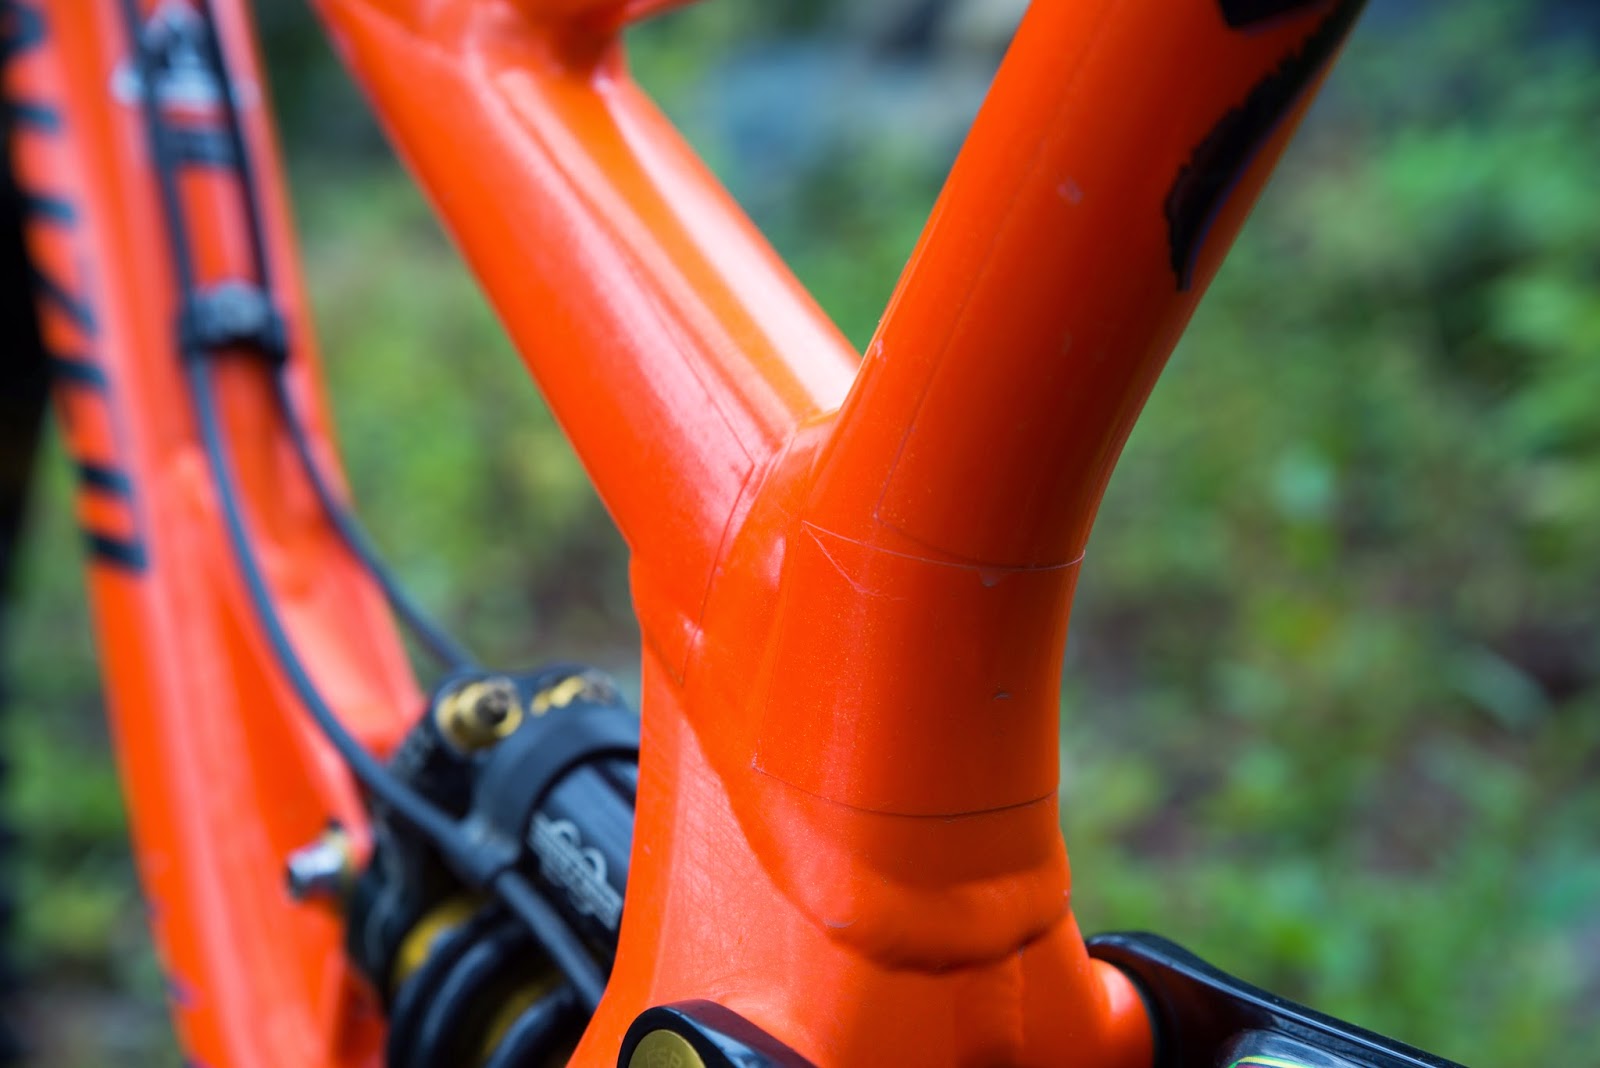
I used a shallow depth of field to highlight the bike and specific parts helping bring out some detail as well as showcasing some of the more desirable parts. 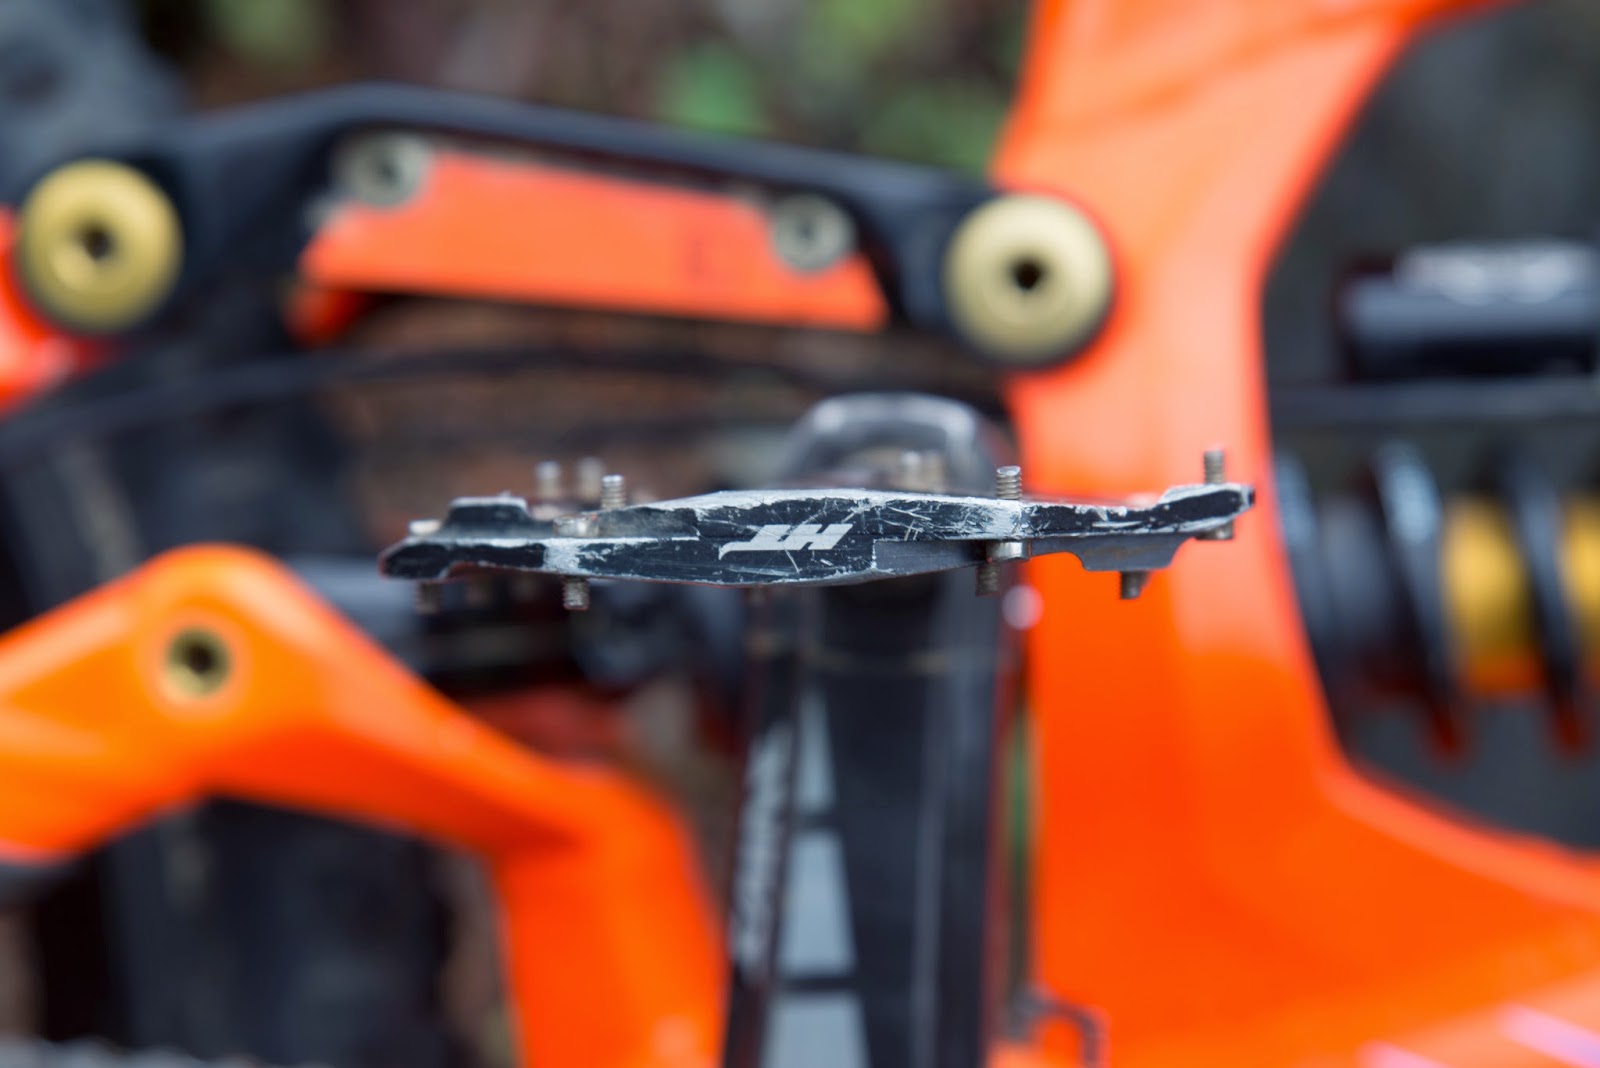

The bike has a protective tape applied to keep the limited edition paint job scretch free, this shot was to try and show its integrate application on the bike, the trick with this shot was to try keep the bike colour while showing the see thought take is on the bike


Subscribe to:
Posts (Atom)
Popular Posts
-
 With Ryan air offering cheap fairs across Europe it can be cheaper to travel abroad than across the UK. At just £28 for a return flig...
 -
RBG contact sheet I have selected my best 9 images, in my selection it tried to get a good variety but keep a predominate blue tone ...
-
This weekend I went camping in the lake district, getting away form civilisation and distractions allows you to slow down and observe what i...
-
 My friends play in the local basketball team the Kendal Warriors, While I was up in the Lakes they had a match vs Newcastle Univercity which...
 -
Today we where given the task to follow a brief similar to that a art director might set; to collect sample images that correspond to their ...
-
 With the New library taking over from the Old library in 2013, the Old library has begun a 10 year development plan designed to alter the...
 -
 Its possible to create colour images form black and white film by using RGB filters and creating 3 images, this gives you 3 tonally differen...
 -
As part of my assignment I planed a product shoot and use the 5X4 camera. I choose to use a Rolson multi-screwdriver as my product, I used p...
-
 To help work off our festive lunches we decided to camp out on the Lion and the Lamb near Grasmere. With a late start and poor visibility (...
 -
 I designed this camera capture every bit of light with in the pin hole, essentially giving the image a feeling of depth I had previ...

Twitter Updates
Meet The Author
Blog Archive
Get In Touch
Category
- Band
- Basketball
- big day
- biking
- Birmingham
- blea tarn
- Boomerang
- Bootlegers
- building
- camp
- Camping
- Collodion. Old school
- composite
- consell hall
- Dallam
- Darkroom
- Editing
- equipment
- Film
- Film characteristics
- grasmere
- Helvellyn
- Hike
- hoop
- kendal
- krisbentham
- lake district
- Lakes
- lens flair
- Library
- marriage
- nikon
- Old library
- Paradise
- Photo
- Photog
- photograph
- photography
- photoshop
- portrait
- preset
- progressive lines
- Public opinion Black and white
- removal
- spinners
- Stars
- Striding edge
- technique
- tent
- the lake district
- the lion and the lamb
- time-lapse
- timeline
- trail
- tripod
- uk
- Vox POP
- Walking
- warriors
- Wedding
- wedding photographer
- wedding photography
- Wet Plate
- wild camp