A Clean, Multipurpose Agency Theme


The Impossible project and emulation lifts

The impossible project is a reincarnation of Polaroid. After the chemicals with in Polaroid film where deemed too dangerous to on the European market place the impossible project has tried to replicate the iconic film and fill this gap.
This new film although replicates the process of Polaroid it has it own unique style and tones. Characteristic of the impossible project are;
- washed out colours and tones
- soft focus
- The chemical process is not as stable as that of Polaroid so it can be temperamental resulting in longer developing time.

Emulation lifts The way the impossible project make there film allows you to remove the image from the frame and the apply it to another surface. It gives you a fairly artistic.
To do a emulation lift you will need;
- a craft knife
- a cutting board
- a selection of brushes ranging is sizes and softness
- 2 trays
- soap
- hot water
- paper or tile
directions
1. remove the white boarder of the impossible project film, be especially careful with the top and bottom of the frame as there are chemicals stored there used in the development of the image.
2.once the frame is peeled off you can remove the metallic plate at the back of the image
3.now you will be left with some white powder attached to the emulation layer of the film( I was lucky as most of mine came away with the metal plate) to remove this we are going to start by soaking it in very hot water.
4.with a medium hard brush gently wipe the white powder off. as the emulation layer separates form the acetate front it will start to move acting like tissue in water and looking like jelly.

5.once the emulation layer has been separated from the transparency and the white powered has been removed we need to transfer it to a second tray with clean hot water. this is to ensure we don't get any of the powered on our final outcome.
6. the emulation layer will need flipping, this can be down with a the brushes.
7. place your paper into the tray under the emulation layer, position the emulation, it can be moved later so it doesn't need to be perfect.
8. remove the paper and emulation, using a soft brush genitally move the emulation in to position

9. let the emulation layer dry
10. apply a varnish to layer to seal it on to the paper

This process give a quirky look to your image it can be used to create unique personalised cards or tiles. you are never going to get a perfect image but that goes with the characteristic of the film

Solihull college Sports Relief cycling

The college held an event to colectivly cycle the 246 miles for solihull to France on static bikes. The idea being to get the people active and involved in sport


Seeing in Black and White at night

while in my flat i noticed the how the street lighting was creating different textures on the road so decided see what images I could get at night seeing in black and white.
unlike daylight, the artificial street lights give a constant feeling this gives makes the images more atmospheric as there more relatable


Seeing in Black and White


While doing this task I kept in mind some of Ansel Adams theories, exposing for the blacks where you metre of the darkest part in the image and the reduce the exposure by 2 stops. This gives detail in both the blacks and the highlights whist keeping a bold contrast. I tied to shot with my maximum aperture to aid this method in getting the maximum detail possible. Adams created the zone system, by splitting up all the tones in to 12 zones accounting for the shade and the amount of detail with in that tone. Adams believed that you had to have all the zones present to create a perfect image.

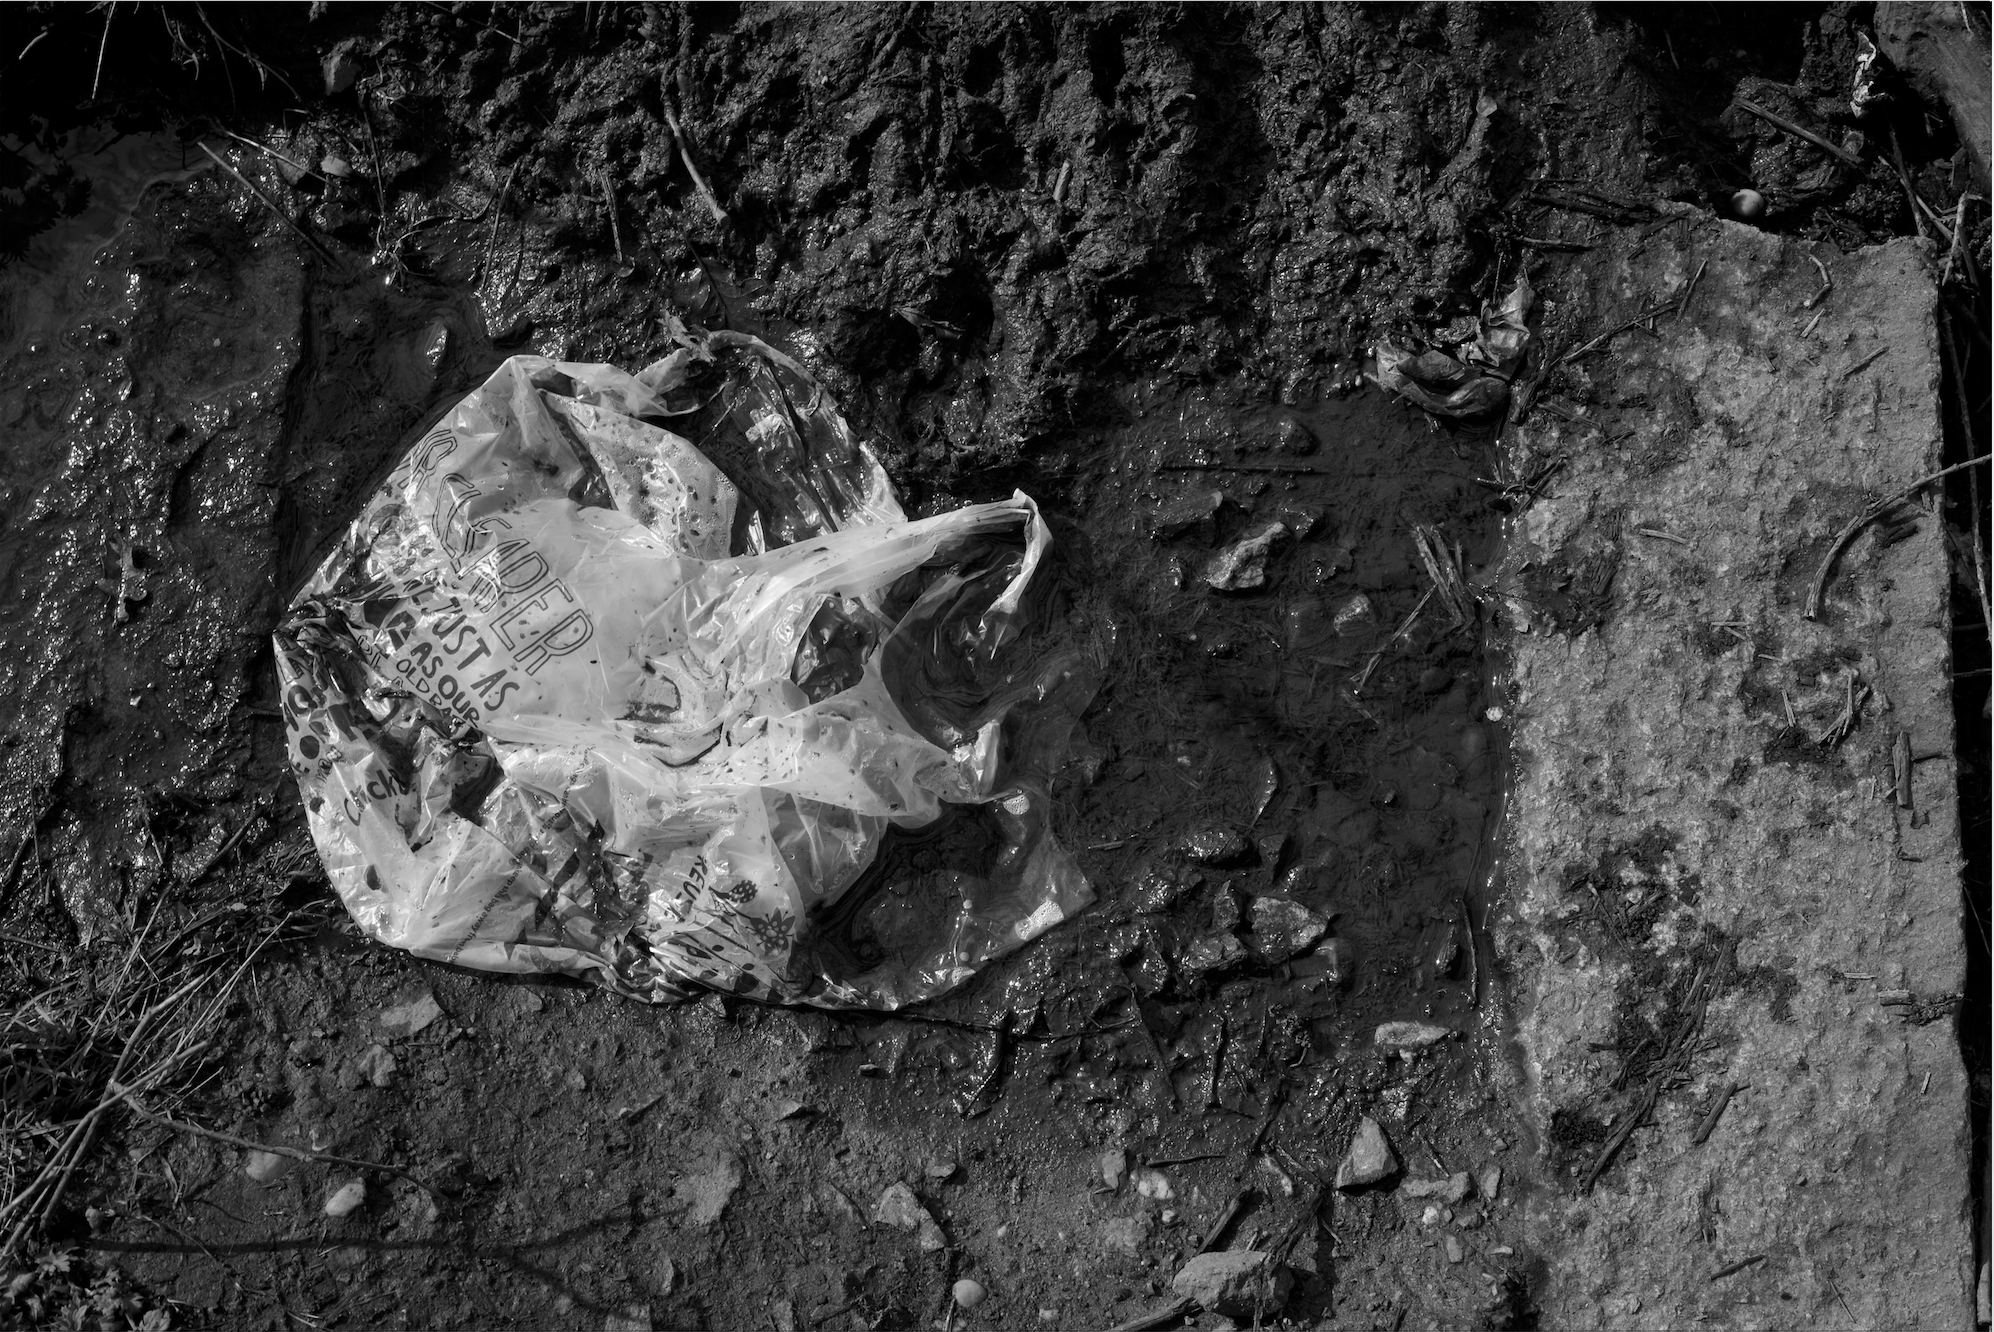

by removing the hue from the image it simplifies the images making the texture and tones stand out. understanding metering and tones is key to emphasising the feel of your images, as an experiment I took the same image using evaluative metering and spot metering with Adam's exposing for the blacks technique


by removing the hue from the image it simplifies the images making the texture and tones stand out. understanding metering and tones is key to emphasising the feel of your images,

Sam and Steve's Pre Wedding shoot


I will look to using a polarising filter for the wedding day to reduce the brightness of the light and fill flash when necessary.


Bansko
Bansko Bulgaria
On a recent trip to Bansko I noticed the erratic nature of the weather it was forever changing with vibrant sunrises and clouds roll around the hills. I decided to created a series of time-lapse clip catching this passing of the weather

I didn't create a time lapse of this as the alternation exposure of sun rises are tricky to set the exposure for, you can not used auto setting as you need to ensure there is no sudden jumps between the exposures. one technique that requires a external device bulb ramping, this lets you set a starting shutter speed and ending speed and duration. it will the change the shutter speed in increments.

This was the first time-lapse I made the dramatic clouds where perfect for the project


I was setting my camera up and leaving it taking pictures with the same exposure, this was one of the more challenging to get to work, the lighting conditions changed so much thought out i had to drop the exposure of the clouds where blowing out.


I ended up with a 3 second clip of this sun rise so i decided to use it for the title page to add some colour.


Birmingham airpot time-lapse
Birmingham airpot

I wanted to replicate the motorway time-lapse with aeroplanes I found this location around 10:30 at night just in time to see the last plane land as I was setting the camera up and the last departure of the day. on a clear night this could be an interesting location.
The blinking aperture ring has effected the quality with the video, there some nice detail when viewed full screen with the right editing software this could be brought out the make a interesting movie.

Time-lapse Malvern
Time-laspe
I recently went towards Malvern to create some time-lapse of stars. this was a test run to see how the D610 would work with the feature

My first stop was a view point of the Malvern with the hills in the backdrop, the view point was looking the river, it was hard to get the hight required to get the a good composition of both he town and the sky. Ideally i would want to remove the close bushes
Time-lapse straight form camera
As I started the time-lapse you could see through the clouds but the clouds quickly rolled in. you still get a nice effect wight he detail in the clouds but i decided to stop the recording as it was clear the stars weren't coming back. I used the D610s Time-laspe feature which automatically creates a movie, previously I have been using the D5100s built in interval timer. The movie has some flickering occurring on the sides of the image, I originally put this down to headlights from the near by road but i have since learnt its coming form the aperture rings movement between shots.
If i was to continue this feature i would need to invest in some movie editing software to be able to alter the white balance and do minor adjustments. using filters could also help to tone down the strong glow of the town

On the way back I stopped off at a motorway bridge to create a urban time-lapse, i noticed the cross in the lamps and bridge so used that as a focal point deciding the scene. i think although i got think in the centre i didn't have my camera square wight the bridge so the framing is slightly off.
This video have worked better than that of the Malvern, there is less no blinking and the white balance is better due to there being less of a mixture of lighting types.
Subscribe to:
Comments (Atom)
Popular Posts
-
This weekend I went camping in the lake district, getting away form civilisation and distractions allows you to slow down and observe what i...
-
 Hollywood promotional portraits where used to created interest in a actor or actress during the golden age of Hollywood. The characteri...
 -
 My friends play in the local basketball team the Kendal Warriors, While I was up in the Lakes they had a match vs Newcastle Univercity which...
 -
 I was asked to remove the lens flair from this image as they wanted to print it fairly large. so theres a few things to things bout wh...
 -
Birmingham airpot I wanted to replicate the motorway time-lapse with aeroplanes I found this location around 10:30 at night just in ...
-
 A friend of mine is wanting to sell his bike so I took the opportunity to do a product shoot for his internet adverts. As this bike...
 -
 I recently had a quick shoot to on the shore of lake Windermere originally the shoot was to demostraight the use of flashguns but the overca...
 -
 Flashguns can be a scary bit of kit to get to grips with, but with a little bit of knowledge and practice they can be one of the most...
 -
 With Ryan air offering cheap fairs across Europe it can be cheaper to travel abroad than across the UK. At just £28 for a return flig...
 -
 This was the first stage of the Scottish downhill series as its a 2 day event it was a good chance for me to practice my biking photograp...

Twitter Updates
Meet The Author
Get In Touch
Category
- Band
- Basketball
- big day
- biking
- Birmingham
- blea tarn
- Boomerang
- Bootlegers
- building
- camp
- Camping
- Collodion. Old school
- composite
- consell hall
- Dallam
- Darkroom
- Editing
- equipment
- Film
- Film characteristics
- grasmere
- Helvellyn
- Hike
- hoop
- kendal
- krisbentham
- lake district
- Lakes
- lens flair
- Library
- marriage
- nikon
- Old library
- Paradise
- Photo
- Photog
- photograph
- photography
- photoshop
- portrait
- preset
- progressive lines
- Public opinion Black and white
- removal
- spinners
- Stars
- Striding edge
- technique
- tent
- the lake district
- the lion and the lamb
- time-lapse
- timeline
- trail
- tripod
- uk
- Vox POP
- Walking
- warriors
- Wedding
- wedding photographer
- wedding photography
- Wet Plate
- wild camp